Acrylic nails have become increasingly popular as a way to achieve long and glamorous nails. However, removing acrylic nails can be a tricky and time-consuming process if not done correctly. One of the most effective methods to remove acrylic nails is by using acetone. In this article, we will guide you through the step-by-step process of removing acrylic nails using acetone.
What is Acetone?
 Source: tse1.mm.bing.net
Acetone is a powerful and commonly used solvent that is effective in removing acrylic nails. It is a colorless liquid that evaporates quickly and leaves no residue. Acetone is readily available at most drugstores and beauty supply stores and is an affordable option for nail removal.
Materials You Will Need
 Source: tse1.mm.bing.net
Before you begin the process of removing acrylic nails using acetone, make sure you have the following materials:
- Acetone
- Aluminum foil
- Cotton balls
- Orange stick or cuticle pusher
- Nail file
- Moisturizer or cuticle oil
Step-by-Step Process
Step 1: Prepare Your Workspace
 Source: tse1.mm.bing.net
Start by preparing your workspace. Find a clean and well-ventilated area where you can comfortably remove your acrylic nails. Make sure to cover the surface with a towel or paper towel to catch any spills or drips.
Step 2: File the Surface
Source: tse1.mm.bing.netUsing a nail file, gently file the surface of your acrylic nails. This will help break the seal and roughen the surface, allowing the acetone to penetrate more effectively.
Step 3: Create Acetone Soaked Cotton Balls
Source: tse1.mm.bing.netTake a few cotton balls and saturate them with acetone. Make sure they are damp but not dripping. You can also use pre-soaked acetone pads for convenience.
Step 4: Wrap Your Nails
 Source: tse1.mm.bing.net
Place the acetone-soaked cotton balls on top of your nails, ensuring that each nail is covered. Then, wrap each finger with a small piece of aluminum foil to secure the cotton balls in place. Repeat this process for all of your nails.
Step 5: Wait
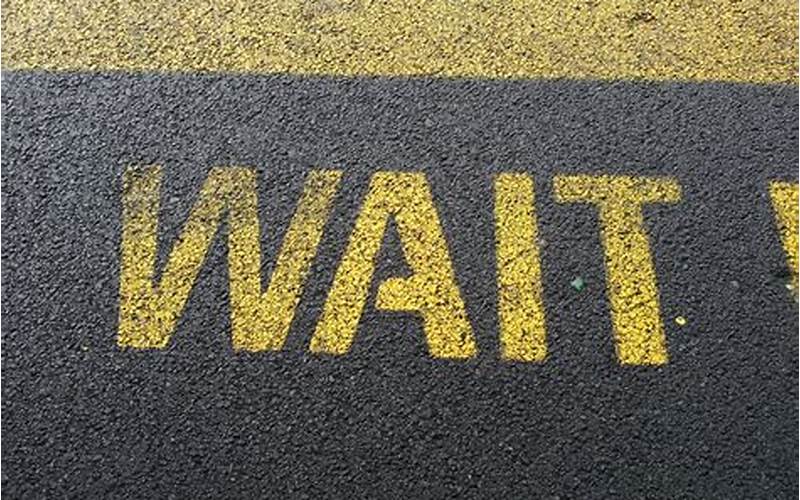 Source: tse1.mm.bing.net
Allow the acetone-soaked cotton balls to sit on your nails for about 15-20 minutes. This will give the acetone enough time to break down the acrylic nails.
Step 6: Remove Aluminum Foil and Cotton Balls
Source: tse1.mm.bing.netCarefully remove the aluminum foil and cotton balls from each finger. You may need to gently twist or pull the foil to loosen it. Set the foil and cotton balls aside.
Step 7: Gently Push Off the Acrylic
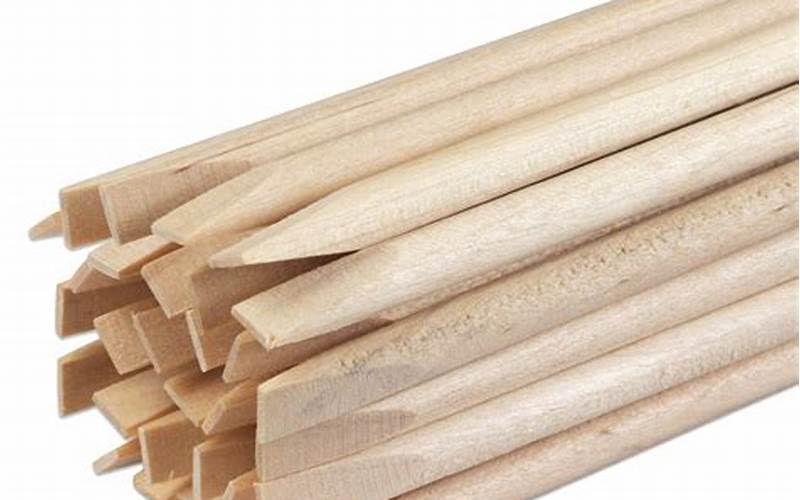 Source: tse1.mm.bing.net
Using an orange stick or cuticle pusher, gently push off the softened acrylic from your nails. Be careful not to apply too much pressure or force, as this can damage your natural nails.
Step 8: File and Shape
Source: tse1.mm.bing.netOnce the acrylic has been removed, use a nail file to shape and smooth your natural nails. This will help remove any remaining residue and give your nails a clean and polished look.
Step 9: Moisturize
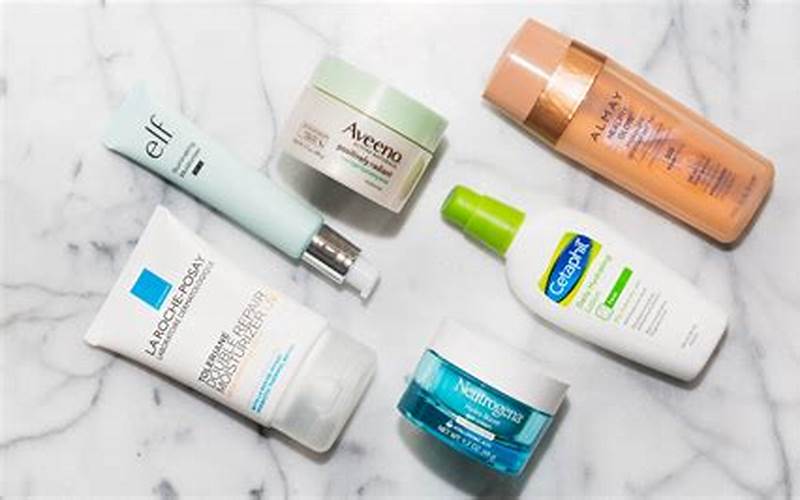 Source: tse1.mm.bing.net
After removing acrylic nails, it is essential to moisturize your nails and cuticles. Apply a generous amount of moisturizer or cuticle oil to hydrate and nourish your nails, preventing them from becoming dry and brittle.
Tips and Precautions
 Source: tse1.mm.bing.net
Here are some additional tips and precautions to keep in mind when removing acrylic nails using acetone:
- Always perform a patch test on a small area of your skin to check for any allergic reactions or sensitivity to acetone.
- Never use acetone near an open flame or heat source, as it is highly flammable.
- Avoid inhaling acetone fumes by working in a well-ventilated area or using a fan.
- If you experience any discomfort or irritation during the process, remove the acetone immediately and consult a professional.
- Do not force or pry off the acrylic nails, as this can cause damage to your natural nails.
Conclusion
Removing acrylic nails using acetone is a safe and effective method when done correctly. By following the step-by-step process outlined in this article, you can safely remove your acrylic nails at home. Remember to take your time, be gentle with your natural nails, and moisturize them afterward to keep them healthy and strong.